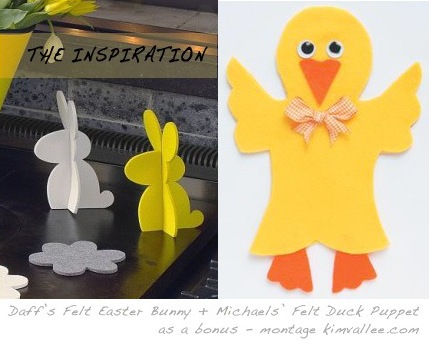
I told you that I was looking for a crafter to design a DIY Easter bunny project since I was unable to find the felt Bunny by Daff at a store. Mom and event planner Michelle of Everyday Celebrating was quick in making my wish a reality.
To continue with the theme, I found on Michaels how to create a cute Felt Easter Puppet Duck. This will give you a head up on preparing for the Easter Sunday family celebrations.
How to Create Your Felt Easter Bunny
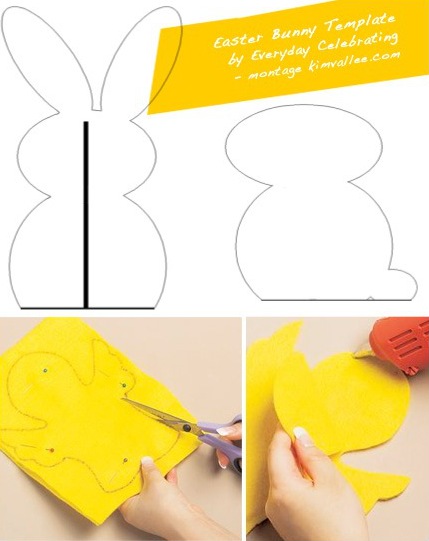
Supplies per bunny:
- 2 letter size (8.5 x 11 inches) sheet of thick felt,
- Rigid framing board or foam board,
- Sharp scissors for felt and card board, precision cutter with a new for card foam
Make a test first. If the felt does not stand up, you can double the craft felt. Use a glue gun or sew the pieces together. If you know how, tell me how to refine this technique.
Foam board will stand well but you need to plan a decorative ribbon to hide the foam visible on all edges. Using a mat and framing board is another option since they are available in several colors.
Step-by-step instructions:
- Print out both bunny images (one with ears and one without)
- Place one piece of felt/rigid board behind one image, attach with pins and cut around the lines.
- Repeat for the second image
- Make sure the edges at the bottom of the two bunny pieces are straight. These edges will form the base on which the rabbit sits.
- Notice the template of the bunny with ears has a dark line up the center. Cut a similar line into your felt/rigid board of the bunny WITH ears. Make sure it goes all the way up to the ears. Be careful not to cut completely through!
- Next, take the felt/craft board bunny WITHOUT the ears and slide him into the line you cut. You’ll form a plus (+) sign with the two bunnies.
- Make sure the without ear bunny is pushed all the way to the top of the slit.
- Next, place the bunny on a flat surface to determine if it’s level. If not, trim the excess off the bottom of one piece to match the other.
Click here to download the bunny template.
Thank You Michelle!
Michelle is 38 years old event planner from Nashville, TN. I invite you to read her blog Everyday Celebrating where you will find other craft projects from her or that she spotted on the Web.
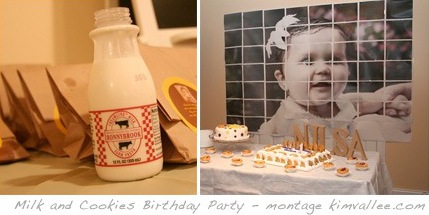
You have until Noon EST tomorrow (March 17, 2009) to enter a giveaway on her site to have a chance to win a Fotomural from Colorblind Productions. Remember the cute milk and cookies birthday party I told you about. The prize is the same photo tiled display customized with your photo.
SOURCING:
+ download the bunny template
+ Thick Felt for crafting – 1/5 inch in thickness, 12″ square piece $3.50
+ Colored Foam Boards at Michaels
Rachel
March 18, 2009 at 17:56Aww, it’s adorable, she did a great job! I’ll be linking.
conejo de foamy - conejo de pascua | fieltro
April 8, 2009 at 00:36[…] fuente: athome.kimvallee.com […]
Conejo de Pascua con Foamy | Manualidades Infantiles
January 15, 2010 at 06:38[…] Ir a la Página>> […]